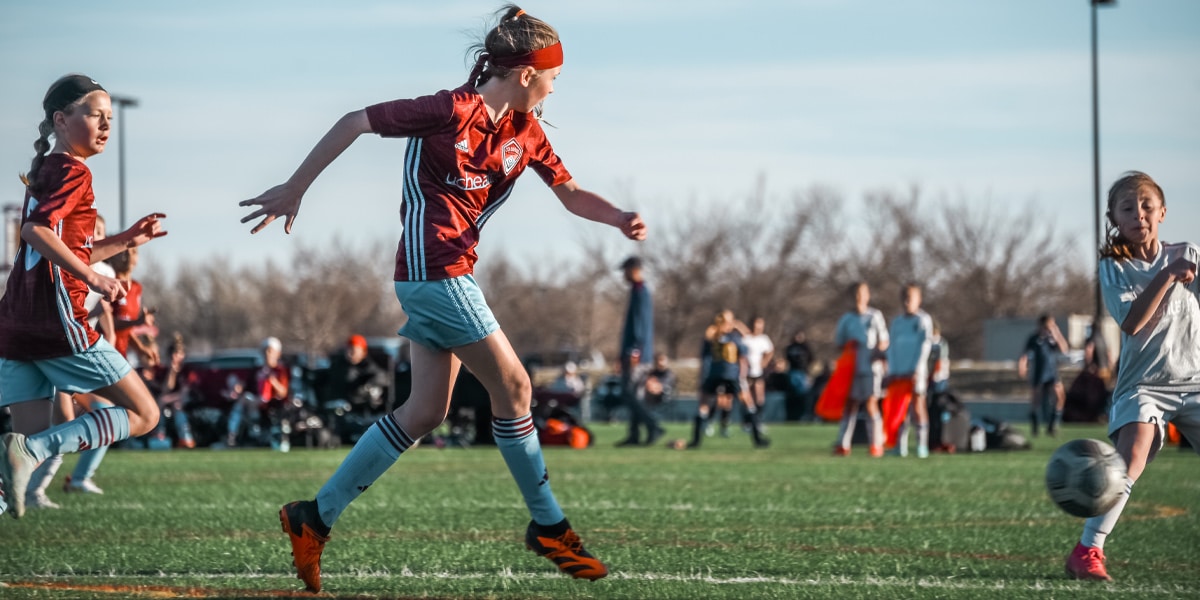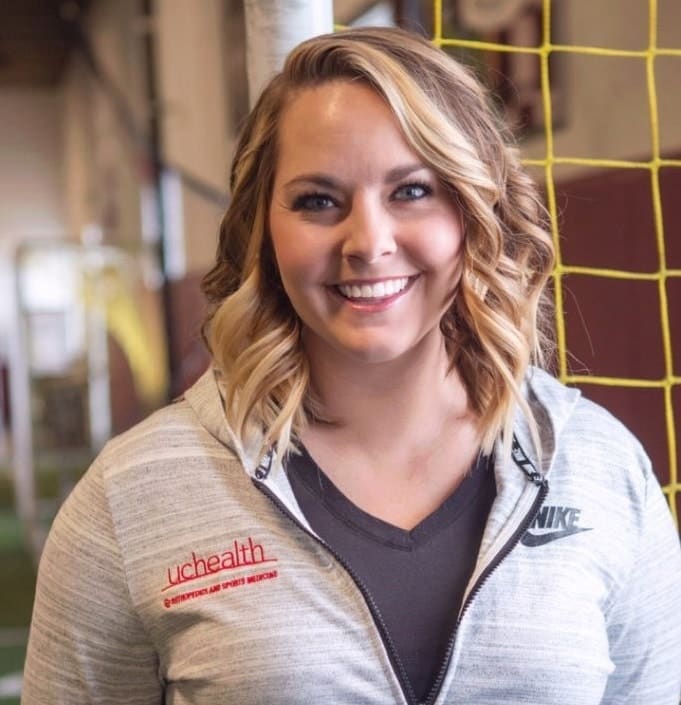
Recovering from a quadricep injury? In this blog post, CRYSC Head Athletic Trainer Julie Graves has put together a step-by-step guide for an effective and healthy rehabilitation process. From initial Rest-Ice-Compression-Elevation therapy to light stretching, massage techniques, and foam-rolling, the guide below will assist you through every step of the healing process. By emphasizing pain-free progressions and a gradual return to play, this is your roadmap to a resilient and sustainable recovery.
UCHealth + CU Sports Medicine and Orthopedics has a variety of different locations to help your child get back to the soccer field at 100%. If this is something you think your child may be dealing with, please reach out to our Head Athletic Trainer, Julie Graves, for assistance. Below is the at-home rehab program for hamstring injuries.
Step 1: RICE: Rest, Ice, Compression, Elevation
RICE: Rest, Ice, Compression, Elevation
Rest: first and foremost in the beginning to allow the muscle fibers to start laying down.
Ice: the muscle for the first 7-10 days for 15-20 minutes 3x/day
Compression: An ace wrap or compression sleeve can be used around the quadricep if there is swelling, but it also keeps the area warm which helps with healing
Elevation: Primarily used if there is visible swelling. This can be done when icing
Step 2: Light Stretching
Check out these two light stretches for your quadriceps and hip flexors:
Step 3: Light Massage
After 7-10 days, light massage over the area of pain to increase blood flow to the area. This will also help to start to align those muscle fibers. Switch to heat as long as there is no visible bruising/swelling anymore for 15-20 minutes 3x/day. Epsom salt bath or an electric heating pad for heat. Ice after activity as needed.
Step 4: Foam Rolling
Foam rolling is KEY to muscle recovery and rejuvenation. I would recommend foam rolling the whole lower body (quads, hamstrings, IT Band, and calves) twice a day to prevent injury and increase performance. Before and after practice or morning and night. A LAX ball, baseball, or softball is better for the calves and hamstrings as it is a smaller surface area.
- NOTE: It is essential to go slow and controlled when foam rolling. This should not be a quick, rushed motion. There are trigger points/knots/pain points in every muscle in our body, so when you go over one of these knots/pain points, stop on it for at least 30 seconds to allow it to release. Then, slowly roll down the muscle until the next one is found. This can be fairly uncomfortable/painful, but it is good pain!
Next Steps
The following steps can be done when pain free with the above criteria.
Step 5: Exercises
- Seated leg extensions with a 3 second hold 2-3 sets of 10-15 reps
- Straight leg raise: lying on your back, flex your quad and then raise the leg up straight to about 90 degrees and slowly bring it back down to the ground 3×10
- Body Weight Squats: 3×10
Step 6: Dry Needling
- NOTE: *This can be done 10-14 days after injury
This is the cherry on top to all the work above. The technique uses a “dry” needle, one without medication or injection, inserted through the skin into areas of the muscle. Other terms commonly used to describe dry needling, include trigger point dry needling, and intramuscular manual therapy. Dry needling is not acupuncture, a practice based on traditional Chinese medicine and performed by acupuncturists. Dry needling is a part of modern Western medicine principles, and supported by research. Dry needling is done by physical therapists and chiropractors.
Step 7: Return to Play
Return to Play: Each progression needs to be pain-free before going to the next step.
- Soccer passing, soccer-specific drills
- Progression: Non-contact practice
- Progression: Conditioning i.e. sprints
- Progression: Full contact practice
Find out more about the CRYSC Sports Medicine Program by visiting our website. If you would like more information on natural solutions and the athlete, please don’t hesitate to reach out to CRYSC’s Head Athletic Trainer, Julie Graves, at [email protected].


